Today I made Montessori number rods! Bella’s still a bit young for it, but we don’t go to the hardware shop often, so we figured we’d do it while we could. I find that so much of home educating is like that for me – I’m the type to plan ahead, so I buy (or “stash”) things in advance when they’re on sale, I make lists of things I’d like to do in the future, or I make things that I know we’re far too early for.
The point isn’t to rush Bella into anything. The point is that when Bella shows interest – there’s no delay! I can pull out the material or take us on a day trip to the right place. I like that. I don’t like feeling like I’m one step behind, so it works for me.
 So today we made number rods. It was really easy. £2.50 for a bit of wood from B&Q, £1 for a red tester paint pot, and £1 for the blue one. It’s much cheaper than buying a set, but the obviously corollary is that I have to spend the time making it.
And you know what? That’s the best bit. I’m not an obviously arty person, but like many people, there’s an underlying creativity. Making materials is part of practical life for me: I love learning how to do new things, and I love producing something tangible that Bella gets visible benefit from. I also really like that Bella gets to watch us doing these things, so she sees Daddy sawing away and me painting. I have people ask why I don’t just buy the materials when I can afford them, but it’s not always about the money. I need fulfilment in my life too. This is a major reason why home educating works for me.
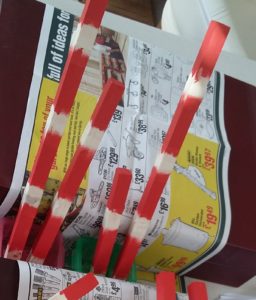
Red paint on
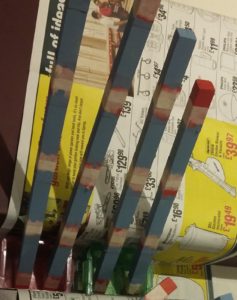
Blue paint on
It was surprisingly easy. As I said, buy a bit of wood and cut each piece to size. The traditional classroom material goes from the initial 10cm piece up to the large 1m piece. We sized down to 4cm increments because of the size of the wood we could get, as well as storage requirements. Then I put masking tape on the “blue” segments and painted the red ones, and when the paint dried, moved the masking tape on the red segments and painted the blue bits. Take off all the masking tape at the end, and ta-da!
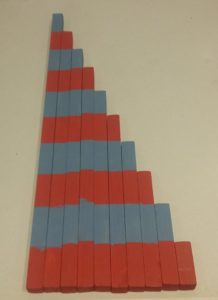
Ta-da!